
How to Set Google or Any DNS on Android – 2026 Guide
Set Google’s or any DNS on the Android system for your device and it should take less than 5 minutes.
Just before that, let’s read a little bit about DNS.
What is DNS?
DNS stands for domain name system and it is used to translate a domain name (website) into IP address so computer/servers can understand.
Each website has its own IP address and it would be difficult for humans to remember them. Therefore, DNS comes in handy when you just need to remember the website name and the DNS system will convert it to an IP address so your computer can understand and land you the website you wanted to visit.
Think about having to remember all the phone numbers of your friends. it would be difficult. So you would save their numbers with their name in your phone book. The next time you want to call/text them, you’ll just need to find their name(s) and your phone will understand.
Why Set Google DNS On Android (or any other)?
Faster Internet Surfing
Some ISPs have some sort of filters running on their background which can delay DNS queries over the Internet. Switching to Google DNS often resolve this issue.
Reliable DNS service
If you’re getting a frequent intermittent connection, one of the ways to check is to change your DNS server. If it helps you, your ISP servers are not reliable or may be overloaded.
Better Protection
Some DNS services provide an extra layer of protection and are known to block phishing websites. This can keep you safe online.
Access Blocked Content
Just like a VPN service, using Google DNS allows you to access blocked websites especially in a country where the Internet connection is restricted. The only difference with a VPN, it comes with security and your connection is encrypted.
How Do I Use Google DNS On Android?
You can set up Google DNS (Or any other) on your device using an app or manually. The easiest way would be using an app. Please see both guides below:
Add Google/Custom DNS Using An App
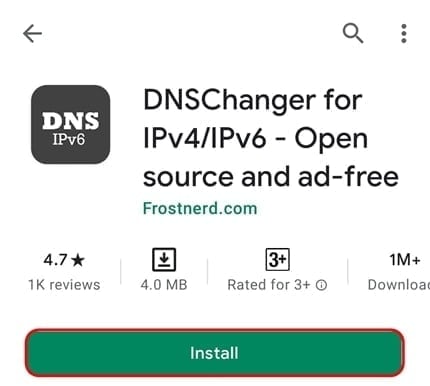
Download DNS Changer App from Play Store or directly if you don’t have access to Play Store.
Once you’ve downloaded it, click on Install.
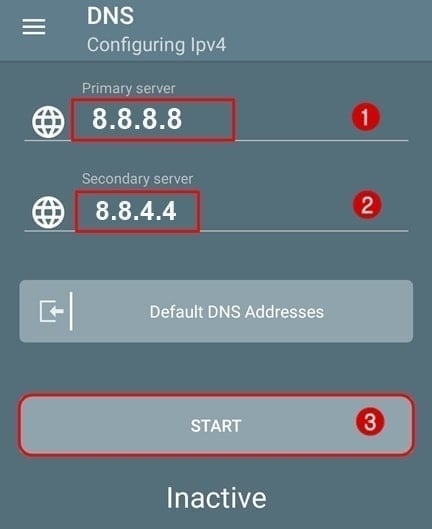
Next, Open the app and enter the following DNS servers as per below in the app and select START
- Primary Server: 8.8.8.8
- Secondary Server: 8.8.4.4
At the DnsChanger information, select OK.

When you see the Connection request message, select OK

If you see the Active status, you have configured your device. Next, just go to your home screen.
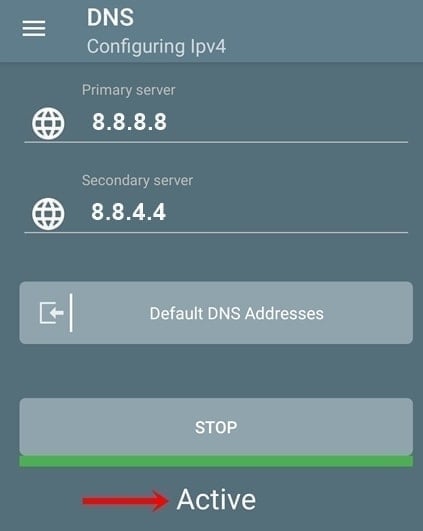
Note: If you no longer want to use the Google DNS service, just tap on STOP.
Add Google/Custom DNS Manually (Without App)
Note: These instructions were written based on generic Android devices and the steps should be similar for most Android devices.
Open up your Settings menu.
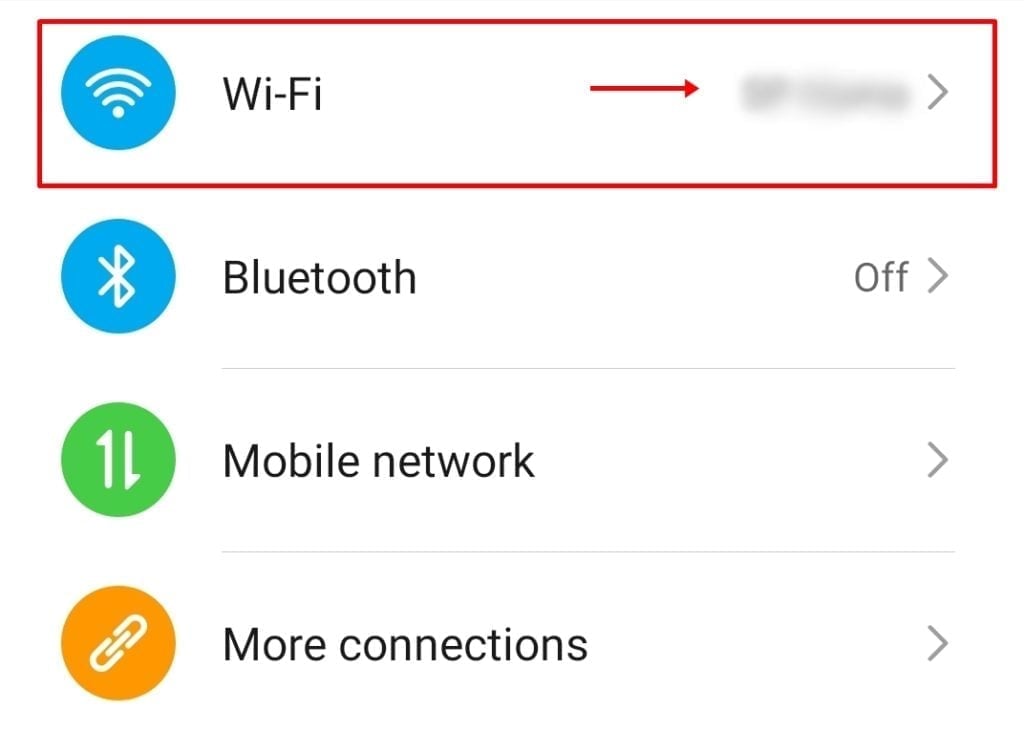
Go to WiFi
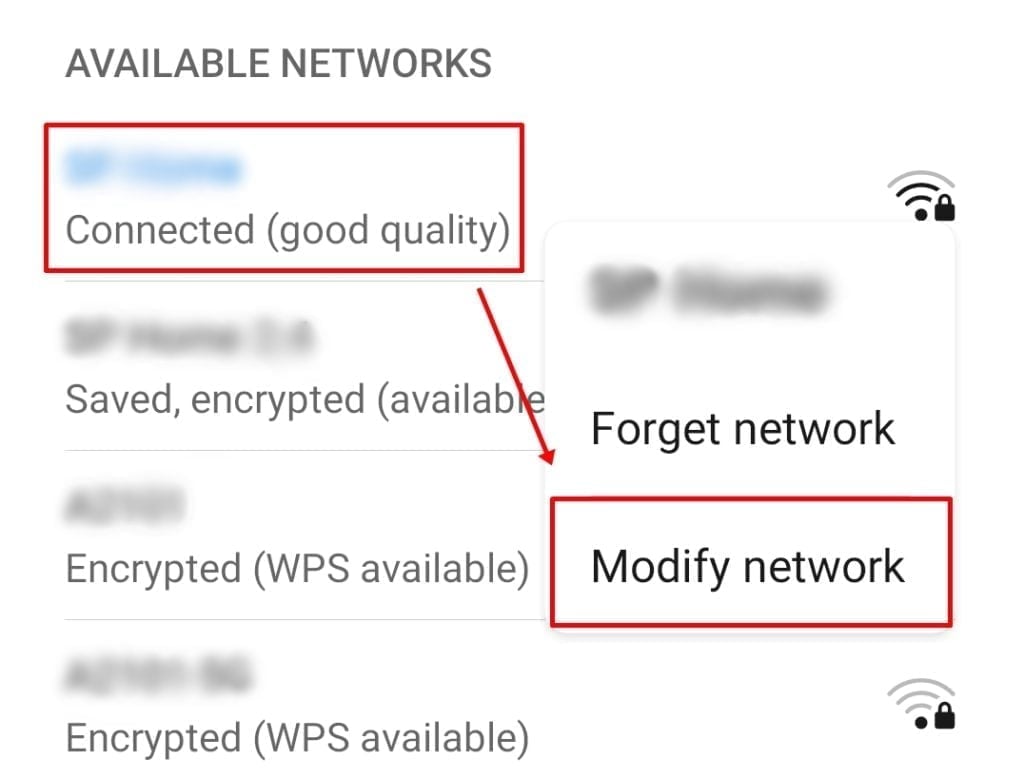
Press and hold on to your wireless (WiFi) network name and tap on Modify Network.
Now, you may be getting the following options;
- Show Password
- Show advanced options
Tap on the second option: Show advanced options
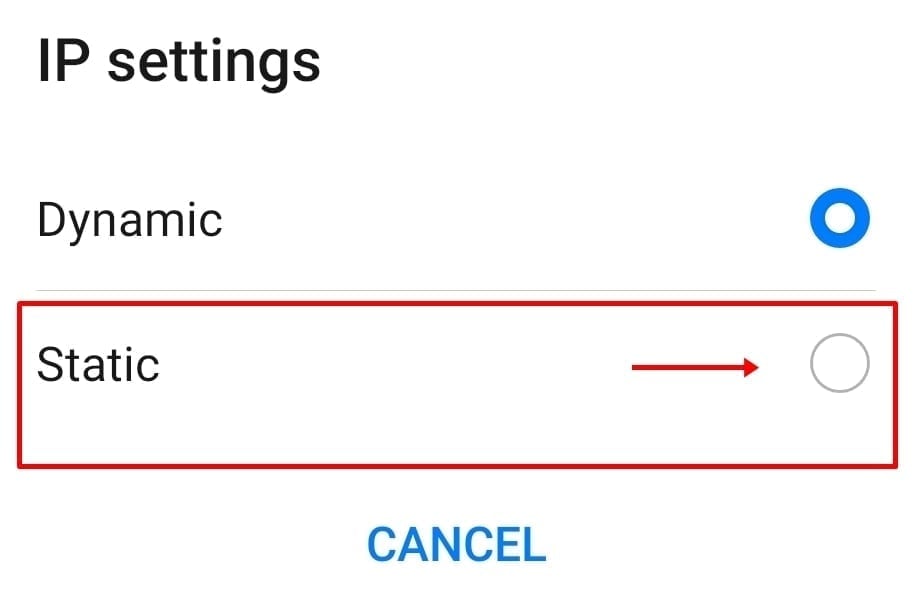
Next, tap on IP settings
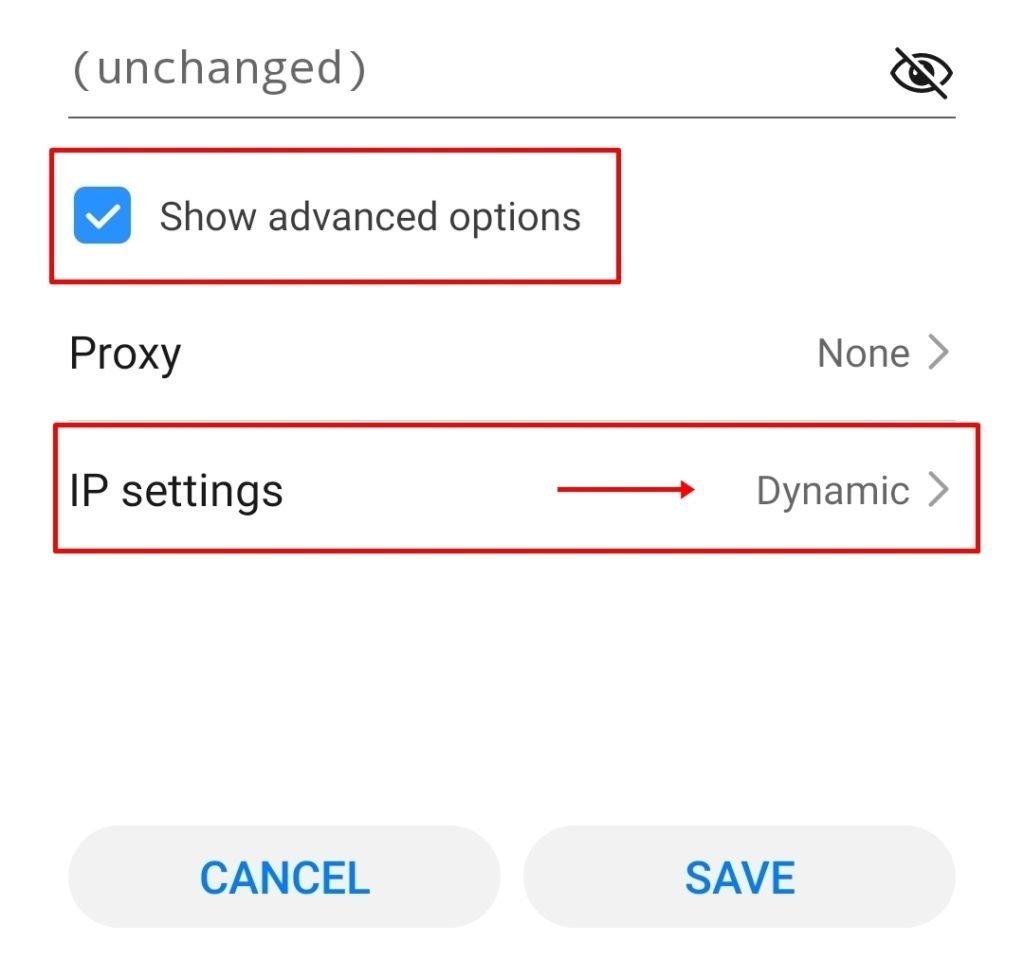
In the IP settings menu, choose Static.
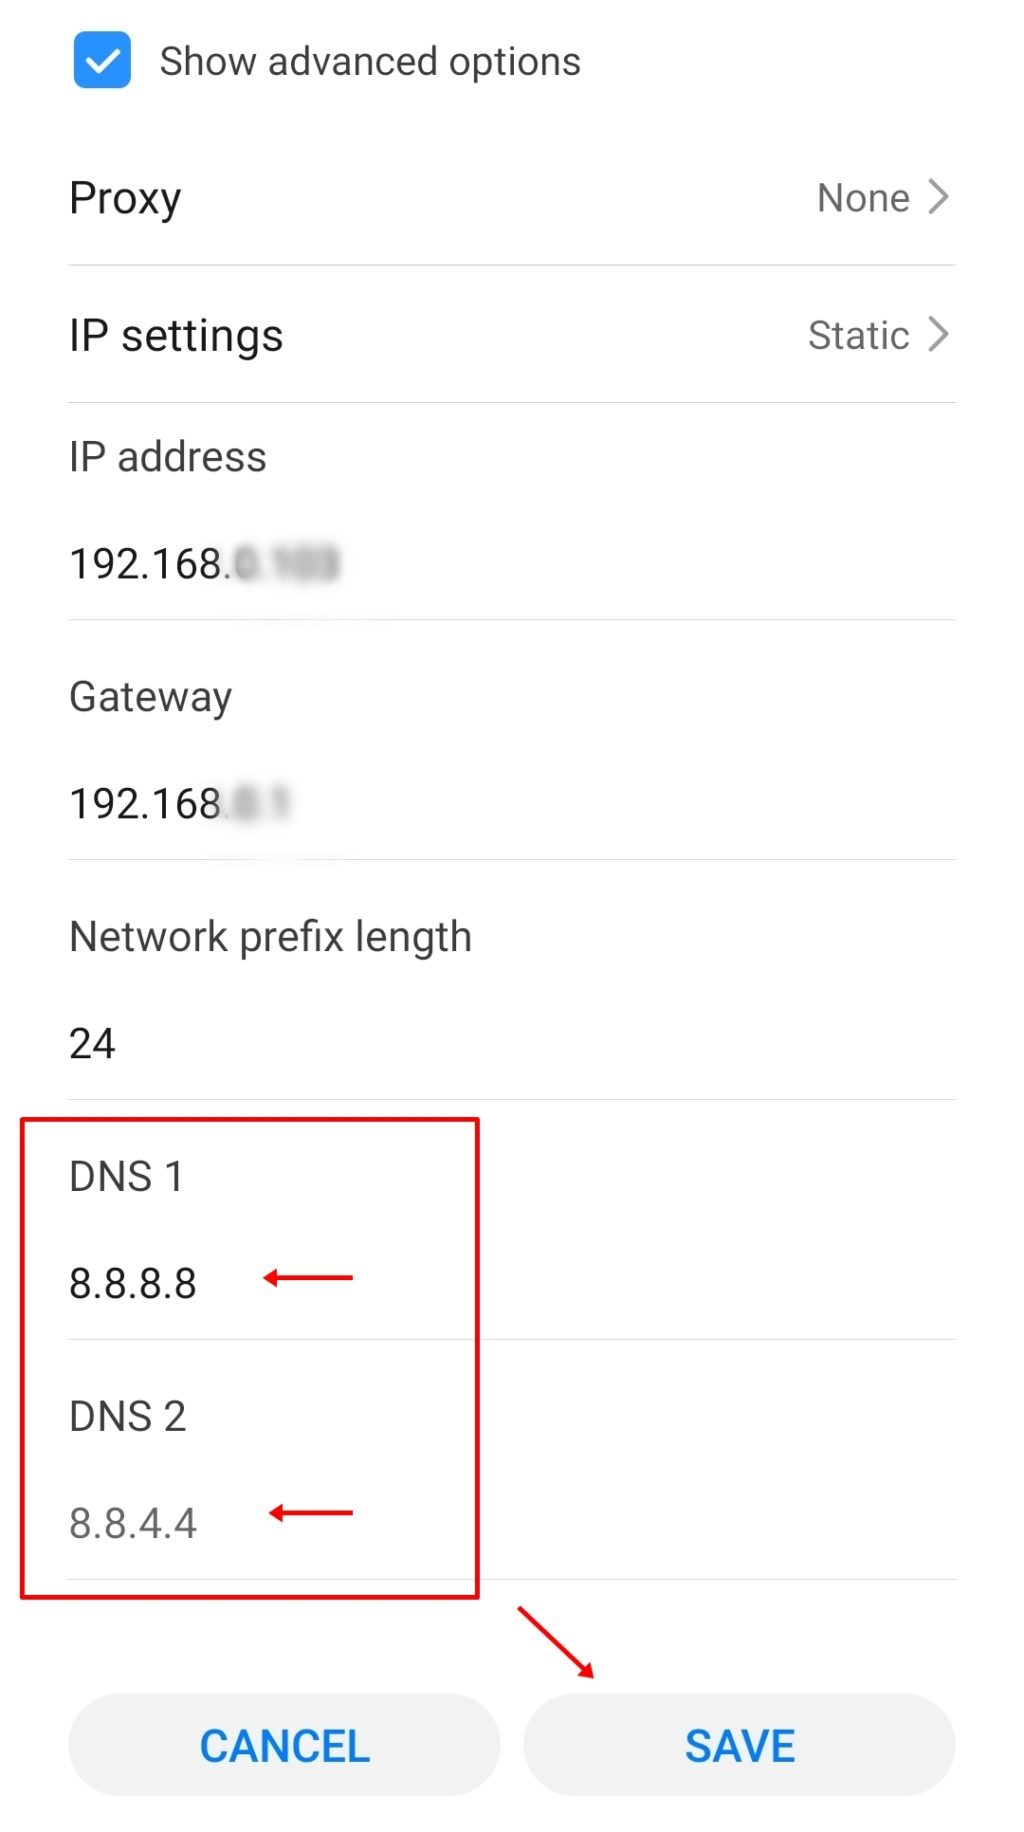
You should now see your IP address, Gateway, Network prefix information. Just leave it as is.
Scroll down the page and you should see the DNS option.
Tap on DNS 1 and enter 8.8.8.8
Tap on DNS 2 and enter 8.8.4.4
Finally, click Save to save your changes.
That’s it! you’re done. Your DNS queries will now be handled by the Google DNS system.
Which Is The Fastest DNS Server?
It depends on where you’re connecting from, the latency of your connection etc!
One of the best ways to know this is to perform a test. If you have a Windows computer, download a free DNS Benchmark tool and install it.
Next, launch it, click on the Nameservers tab and click on Run Benchmark. Wait for a few minutes and you will have the fastest DNS servers based on your connection.
In this example, the fastest DNS server for my connection is from Quad9 (9.9.9.9) and I would use that.

Can I use other DNS servers?
Absolutely! If you know a trusted provider, simply follow the same steps above but instead of using Google’s DNS addresses, enter the other provider DNS.
Below are other known trusted DNS providers which you can use for free:
Cloudflare
- 1.1.1.1
- 1.0.0.1
Open DNS
- 208.67.222.222
- 208.67.220.220
Comodo Secure DNS
- 8.26.56.26
- 8.20.247.20
Quad9
- 9.9.9.9
- 149.112.112.112
Verisign DNS
- 64.6.64.6
- 64.6.65.6
Smart DNS service for Android

Do you want to access more than 600+ TV channels from anywhere in the world?
If yes, then you can use a Smart DNS service and all you need to do is just use their DNS address on your device.
As low as $4 per month, their subscription is really cheap and it’s a good bargain.
This is also a great service for those who want to cancel their expensive cable TV subscription and look for a cheaper alternative.
Conclusion
If your ISP DNS server performance is not good, i.e. high latency and/or you’re in a restricted connection, changing your DNS would be the best option for you.
Please follow my WhatsApp Channel for the latest updates. You can also Contact Me if you need any further assistance.


